
Publishing Jekyll to S3 with GitHub Actions
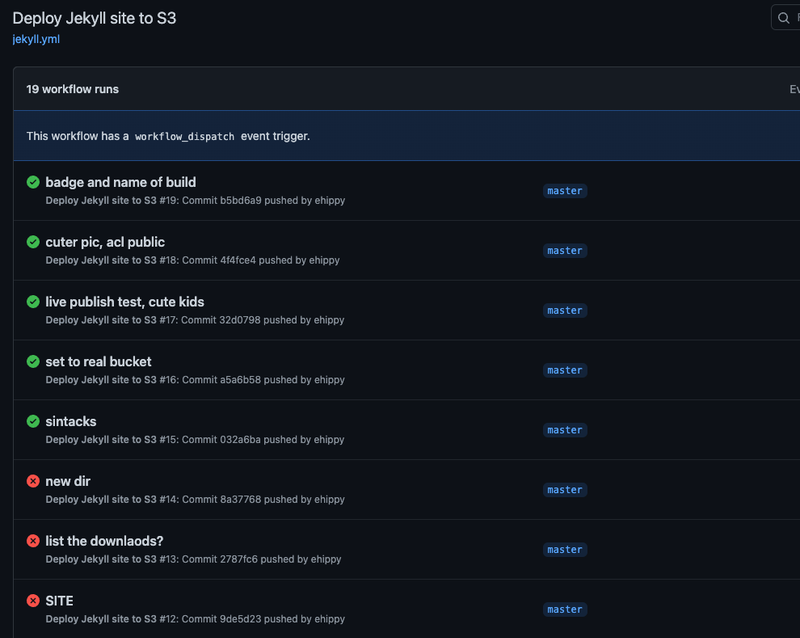
Blog’d been kind quiet, yeah? I picked it up to write some stuff and found that my old friend travis-ci.org wasn’t really a thing anymore. I used Travis to build and publish this site for many moons really reliably. It was one of the OG continuous integration and deployment sites out there. They went all corporate or something.
So to dodge the corpos, I threw in with Microsoft over at GitHub using their Actions platform to publish this pile of bytes you’re reading. I hadn’t used Actions yet and found that it was really slick. Everything hinges off YAML files in a magic .github\workflows\ directory in your project. They helpfully had a starter Jekyll configuration.
After some putzing around with my ancient ruby versions and an upgrade of jekyll itself, their off the shelf action published the site to their own github host thing.
But I really wanted the thing over on an S3 bucket where I’ve got all the domain name, SSL, CDN goodies set up.
GitHub Action Job Dependencies
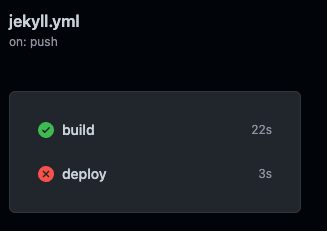
In order to have a cool TWO-THING workflow I seperated the building and the publishing of the site into to two Jobs in the yaml.
build:
    ...
deploy:
    ...
 ]
]
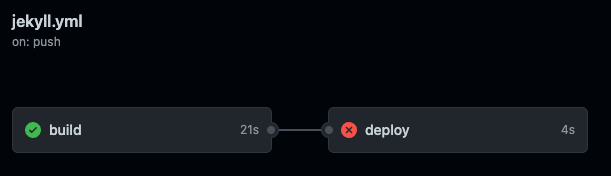
Turns out though that by default, GitHub actions will run these concurrently. This is super speedy cool, but that left my deploy stop no content to push to S3. You can make one Job depend on another with the needs property like so:
build:
    ...

deploy:
    needs: build
 ]
]
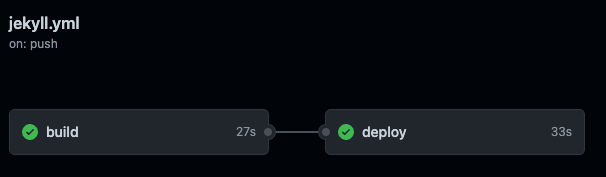
This makes deploy wait on build, indicated by the cute line in the pic there. Perfect.
I could just leave the deployment steps (coming below) in the same job and skip all this, but having the two lets me see more easily at a glance what’s green/red/working, and lets me build on these steps independently in the future.
GitHub Action Archives
Ok, so publish to S3? Not yet. As I went to try and upload the files the jekyll processor just made, they were nowhere to be found. Turns out, Jobs are run in totally independent processes. deploy had no access to the generated files.
You’re supposed to make archives to take output from processes and box them up for others to use.
build:
...
    steps:
        - name: Archive production artifacts
        uses: actions/upload-artifact@v3
        with:
            name: site_content
            path: ./_site
This step in the build action boxes up the _site directory cooked up by Jekyll into an archive called site_content. I then hand this into the deploy step with a nice little action that is built just for importing previously generated archives. You can pass it an archive name to use just that one, but without anything handed to download-artifact it just downloads everything.
deploy:
...
    steps:
    - name: Download all workflow run artifacts
      uses: actions/download-artifact@v3
Ta-da! The blog contents were now on the deployment container.
Configuring credentials for the AWS CLI
Publishing to S3 requires some permissions and a couple commands. First off you need to make a user on AWS that has the permissions to Read and Write objects on S3, and change their ACLs (permissions). I also include here a CloudFront permission to have it refresh my CDN’s version of the website after I publish it. This is the AWS credentials I ended up with:
{
    "Version": "2012-10-17",
    "Statement": [
        {
            "Sid": "VisualEditor0",
            "Effect": "Allow",
            "Action": [
                "s3:PutObject",
                "s3:GetObject",
                "s3:ListBucket",
                "s3:DeleteObject",
                "cloudfront:CreateInvalidation",
                "s3:PutObjectAcl"
            ],
            "Resource": [
                "arn:aws:s3:::patrickmcdavid.com",
                "arn:aws:s3:::patrickmcdavid.com/*",
                "arn:aws:cloudfront::213869164304:distribution/E2BXX0VHQEULW0"
            ]
        }
    ]
}
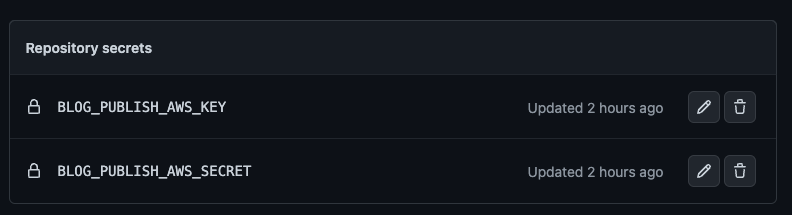
Once you have an AWS user that can do the deed, you need to give GitHub the access key and secret to act as that user when publishing. This in in your repository’s Settings > Secrets > Actions section. Paste those in from AWS.
 ]
]
With these installed, you can bring them into play with the aws-actions/configure-aws-credentials build step like this:
    - name: Configure AWS Credentials
      uses: aws-actions/configure-aws-credentials@v1
      with:
        aws-access-key-id: ${{ secrets.BLOG_PUBLISH_AWS_KEY }}
        aws-secret-access-key: ${{ secrets.BLOG_PUBLISH_AWS_SECRET }}
        aws-region: us-east-1
With those installed, you’ve got a hot AWS CLI ready to rock. First you’re gonna use aws s3 sync to push the new content up to S3. Use the --delete switch to clean out files that aren’t part of the site anymote. Use the --acl public-read switch to set the files to be publically accessible for the website. You may not need to make the files readable.
    - name: Deploy static site to S3 bucket
      run: aws s3 sync ./site_content s3://patrickmcdavid.com --delete --acl public-read
Now, I refresh the CDN rather with an invalidation request:
    - name: Invalidate Cloudfront
      run: aws cloudfront create-invalidation --distribution-id E2BXX0VHQEULW0 --paths "/*"
 ]
]
Bada-boom, these words you’re reading ran through this little configuration! You can see the full YAML here.
Thanks for reading! Hope this helps! Now we’ll see if I actually post the original thing.
Related Posts